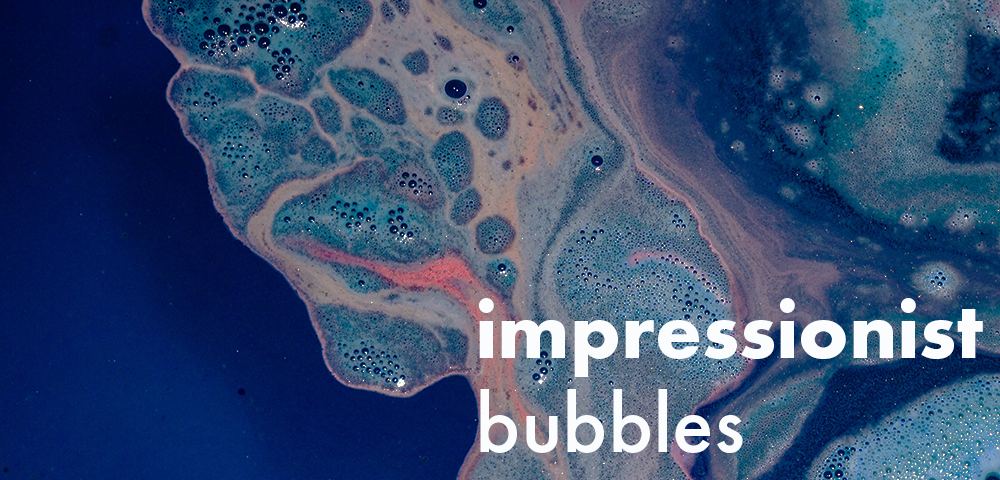
We see bubbles all the time — when we wash our hands, boil water, and of course, use our bubble wands! Go on a bubbly adventure and make some creative art. As children explore the intersection of physical science and visual art, they’ll create a masterpiece that will give Claude Monet a run for his money!
SUGGESTED MATERIALS
- Straws
- Cups for paint (one per color)
- Tempera paint (pick your colors!)
- Bubble solution — For 3 cups of solution, use ¼ cup dishwashing detergent and 2 ½ cups cold water; adjust as needed
- Trays, pie pans, or shallow baking pans
- Newspaper or tablecloths you’re okay getting paint on
- Paper — stiff sheets work best
- ¼ measuring cup
- A tablespoon
CREATE!
- Start by creating the paint and bubble mixture: mix ¼ cup of paint with 1 tablespoon of bubble solution.
- Pour bubble paint solution into your tray or pie pan. Give it a mix, and gently blow on it through a straw to make it froth. Once you’re happy with the amount of froth, get ready to make some art!
- Carefully place your stiff paper on top of the frothy paint bubbles, balancing the paper on the top of the bubbles. This will transfer your bubbles onto the paper. (Don’t worry if they pop in the process!)
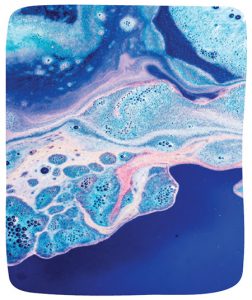
- Lift up your masterpiece! What do you see? Do they look like other patterns you’ve seen before, like dried mud or honeycombs? Does it look like tessellations? If there are any bubbles balancing on your paper, wait for them to pop so you can see the image they leave behind.
- Ready for more? Using that same paper, layer different bubble paint imprints in different colors. How do the colors mix? What colors can you make by layering paint? Which bubbles are the largest? Which ones are the smallest?

Note: If your bubble impression is too light, try stirring the solution in your tray. If it’s still too light, add more paint for a darker impression.


